Instructions for the DataDisplay NextGen
Status: 05/16/2023 Version 0.26:
Inital setup:
Select language - then press "Next...".

With the E series, the ignition must now be switched on, otherwise the display remains off.
Select units:
By pressing on the respective field, you set the unit in which you want to see the data on the display.

It is recommended to start the engine once after the initial setup and then reboot the display. By switching off the ignition or by pressing the update button under "Settings - System". Then the display has saved all the settings it has learned from the engine control.
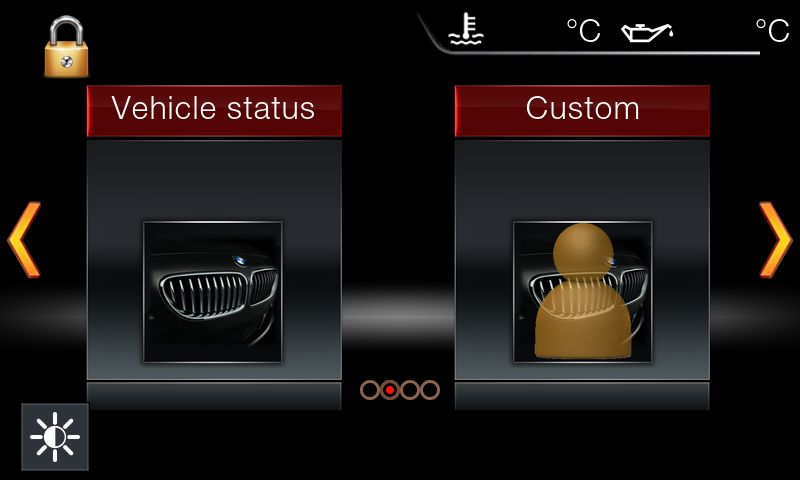
Main menu:
The water and oil temperatures can be seen at the top right on near each side.
Pressing the lock icon locks the display. See "Lock screen".
Swipe left and right to change pages.
Pressing on the "tiles" opens the respective page.
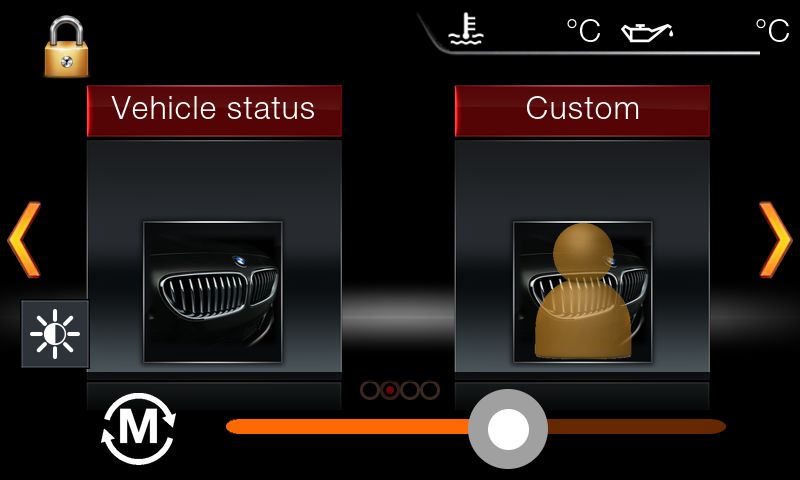
Brightness setting:
Pressing the brightness icon opens the brightness adjustment bar.
Pressing the mode icon changes the brightness mode
"A" = Automatic mode
"M" = Manual mode: Move the controller to set the brightness manually
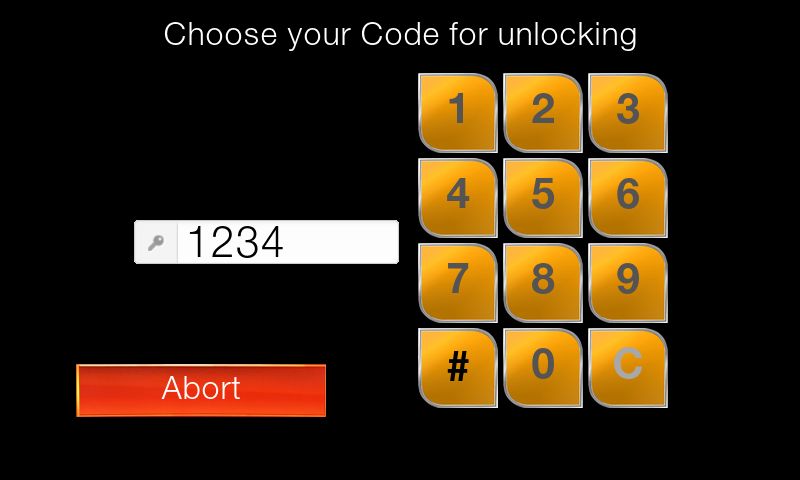
Lock the Display:
The DataDisplay should generally be locked as soon as it is accessed via the OBD2 socket. E.g. in the workshop, at the TÜV/AU, or when updating a control unit in the car.
To lock the DataDisplay, press the lock symbol at the top left of the main menu.
When the display is locked for the first time, a code must be chosen. It can then only be unlocked with this code.
Enter the code and press the # key. Repeat the code (if you made a mistake) and confirm again with the # key. If the codes match, the display is locked and can only be unlocked with the code you choose.
If a code to unlock the display is saved, the "safe" is visible and you can switch to "Safe Mode".
In this mode, the display is still locked, no Can-Bus commands are sent from the display, it shows the water temperature, oil temperature, board voltage and accelerator pedal position on this page.
Leave this page again:
Press the bottom left of the display 5 times within 2 seconds.
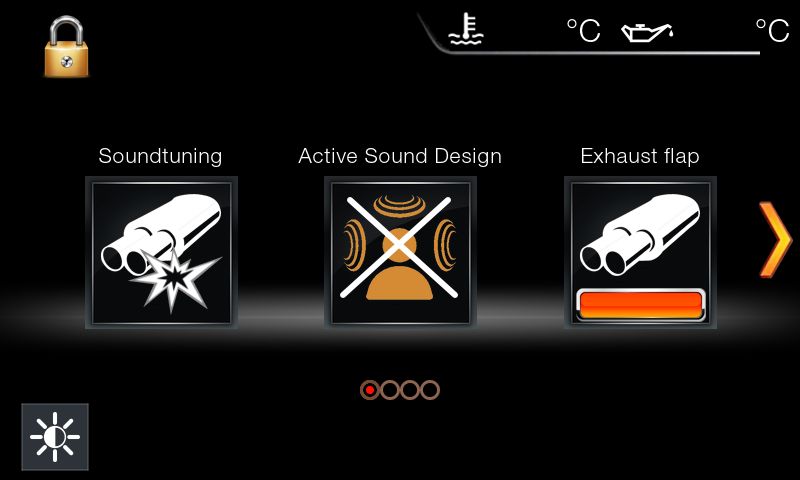
On the far left of the main menu is the setting for:
Soundtuning off/on (sound tuning is BMW's term, known as "burble"), the bubbling from the exhaust. This can also be deactivated in sport mode as if you were e.g. in comfort mode.
Active Sound Design off/on. These are upsuff noises that are artificially generated via the loudspeakers.
Exhaust flap: If activated in the settings, the status of the exhaust flap can be controlled here by pressing it.
Custom and time measurement is currently not described here.
Vehicle status:
Swipe to get to the different pages.
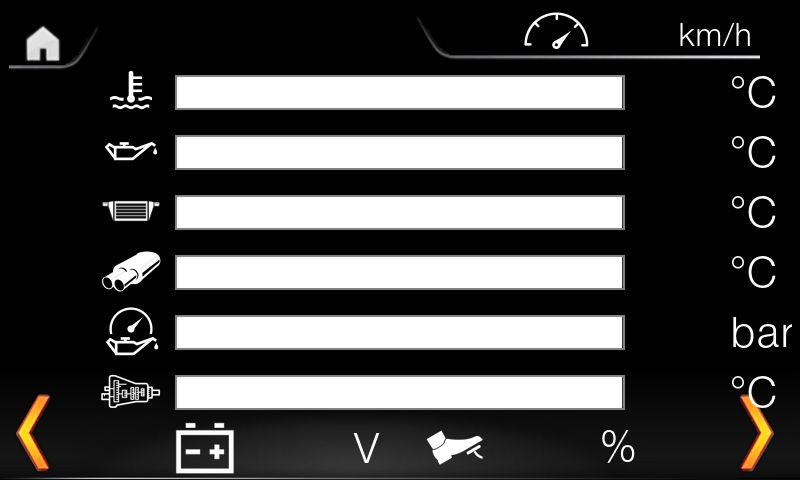
Temperature overview:
This view shows (from top to bottom):
Water temperature, oil temperature, intake air temperature, exhaust gas temperature, oil pressure, transmission temperature, battery voltage and accelerator pedal position.
(If the values can be displayed by the engine control). In future updates, what cannot be displayed will be hidden.
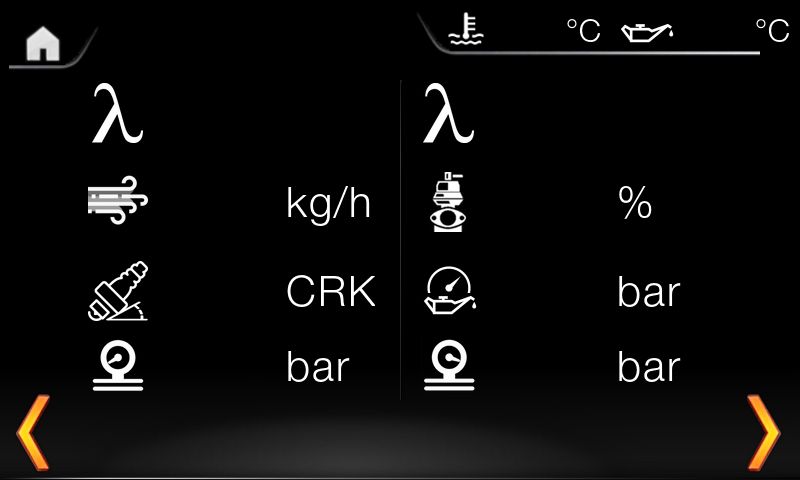
Motor data overview:
The following values are currently displayed here (if available):
Lambda values Bank1 (left) / Bank2 (right)
Air mass (left) / Wastegate position (right)
Ignition angle cylinder 1 (left) / oil pressure (right)
Fuel low pressure (left) / rail pressure/high pressure (right)
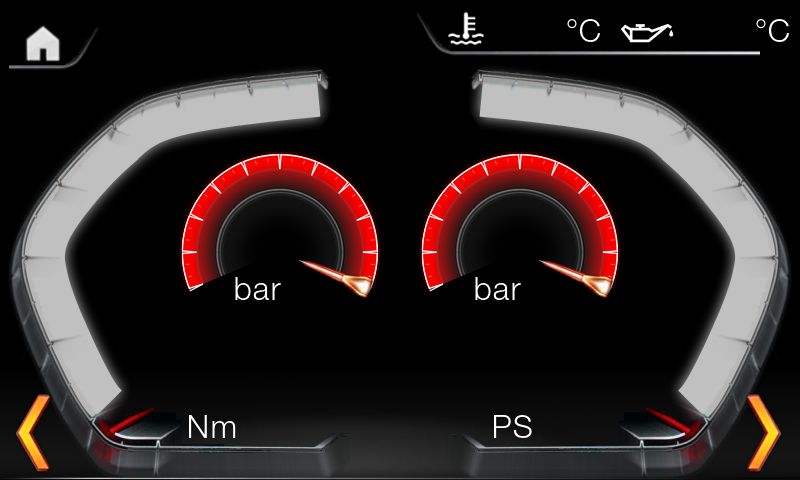
"Gauge" View:
The torque is currently displayed on the outside on the left.
Right side shows performance
Center left shows the actual boost pressure
Center right shows the target boost pressure
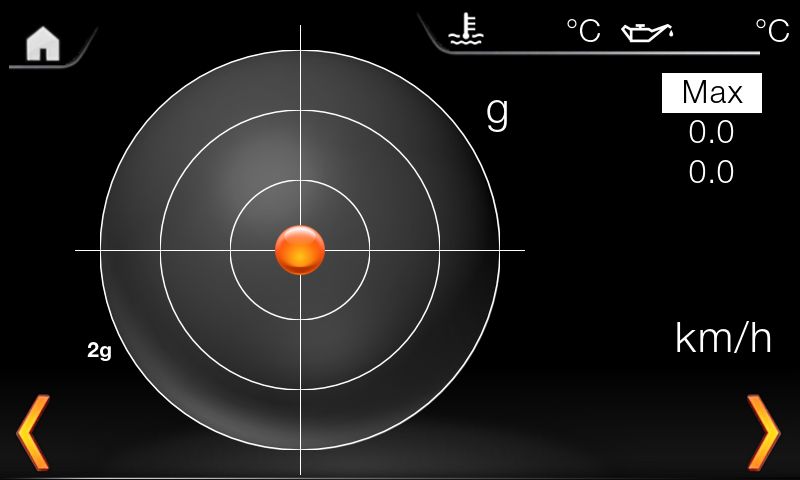
G-Force-View:
The current, maximum G-force and the current speed are displayed here.
The outer ring of the graph are 2g.
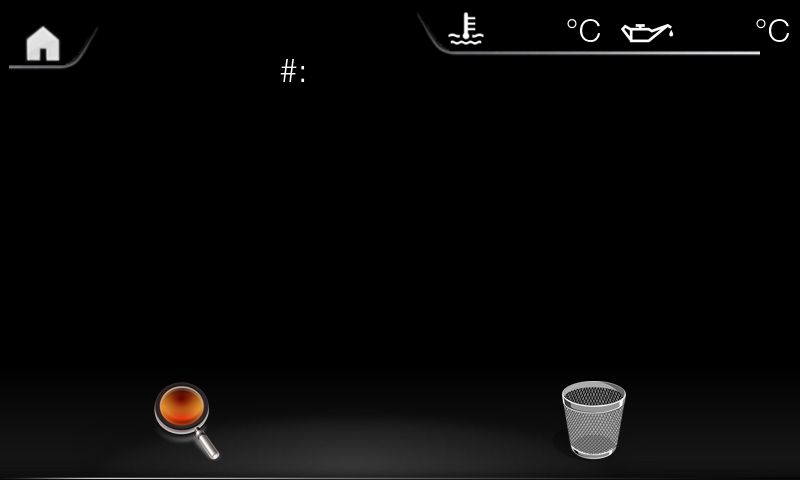
Error Codes:
The engine control error codes are currently displayed.
The error memory is read by pressing the magnifying glass.
The codes as well as the plain text of the errors will be displayed (plain text will be added for all engine controls gradually through updates).
Pressing the recycle bin deletes the fault memory of the engine control
Maximum values:
The maximum values achieved are displayed here. Swipe down/up to see more.
At the bottom is the recycle bin that deletes the maximum values.

Settings- Main menu
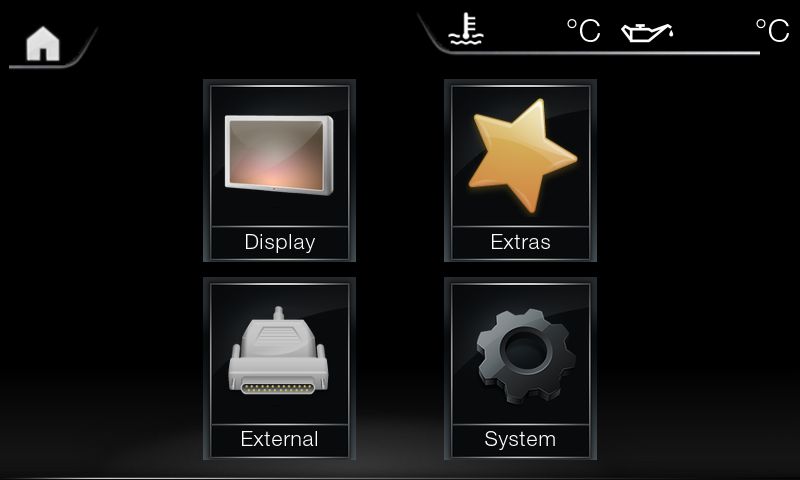
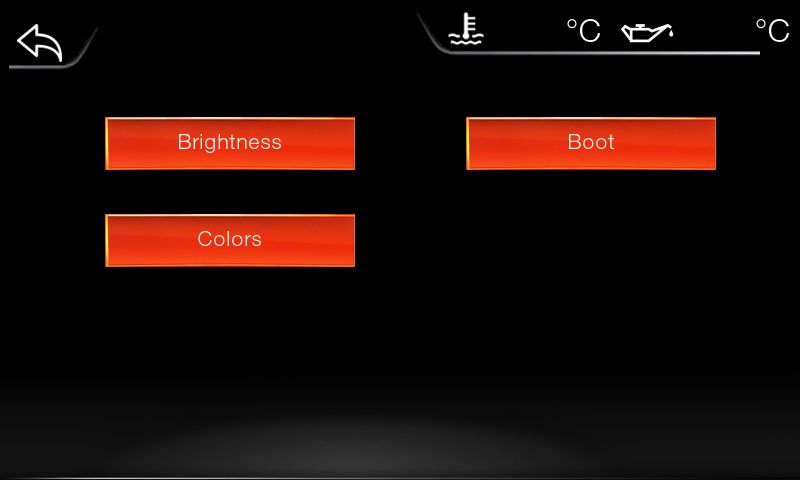
Display:
Brightness: Opens the brightness settings menu
Colors: still without function. Color settings are made here for displaying the temperatures, among other things
Startup: Opens the menu for behavior when the display starts up
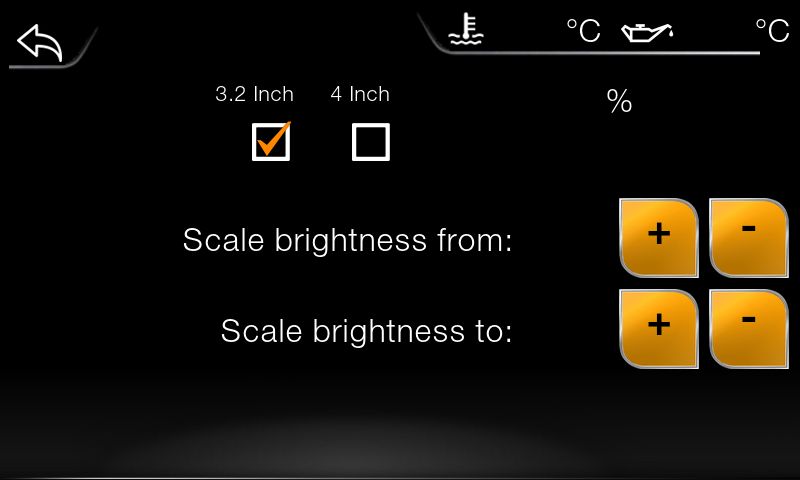
Brightness menu:
Important: Selection of the screen diagonal. Since the background lighting of the two display types is different, you should definitely make the right choice here.
F2X/F3X = 4 inches
E90 = 3.2 inches
The brightness is displayed in % on the right, which is read from the light sensor in the instrument cluster.
scale brightness. Here you can choose how dark or how bright the display should be with automatic brightness control.
The car delivers a brightness of 0 to 100%, the display can be adjusted so that this results in e.g. a brightness of the display of 20 - 80%.
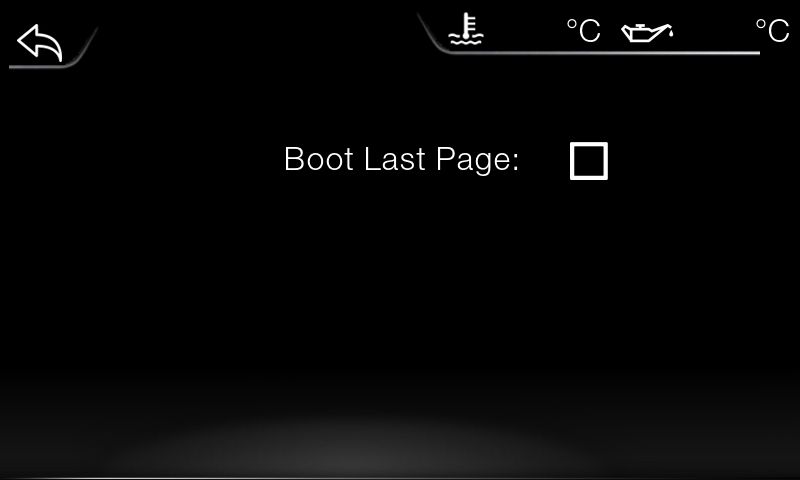
Boot:
Boot last page: By activating this function, the display does not start in the main menu but on the last opened page (e.g.: temperature overview)
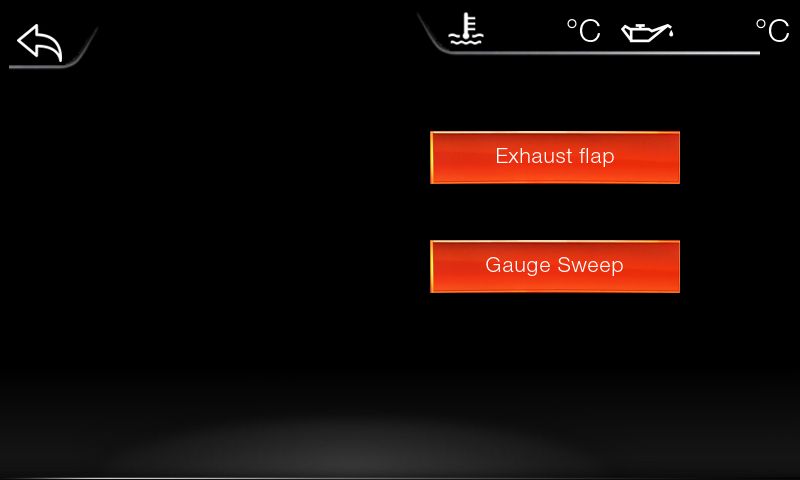
Extras:
Exhaust flap: Opens the menu for setting the exhaust flap (not available on the "Street-Legal" version)
Gauge sweep: Opens the menu for setting the gauge sweep
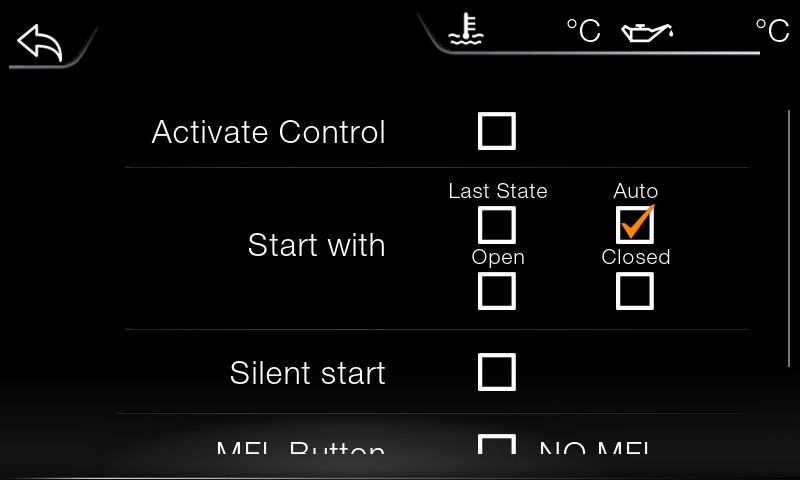
Exhaust flap-settings:
Activate control: In order for the function to be active, this checkmark must be set
Start with: The basic behavior of the exhaust flap.
Last State: Saves the last selected status and restores it after starting the engine
Auto: The vehicle has the normal series control
Open: The exhaust flap opens
Closed: The exhaust flap is closed
Silent Start: When this function is activated, the exhaust flap is closed for 2 minutes after starting and then goes to the state selected for "Start with", or you have controlled the flap manually within the time, then the manual control naturally remains active.
MFL Button: The teach-in function is activated by pressing the text "NO MFL". It is currently the RES button for the cruise control on the steering wheel. Then press and hold it, the text changes. Check the box to activate the function and the exhaust flap can be controlled with this button.
The turn signals in the instrument cluster indicate the selected status.
Left indicator = flap open
Right indicator = flap closed
Both indicators = flap car (standard condition of the car)
Street Mode: Not implemented yet - will follow with updates
to be continued................